Deploying a website can sometimes seem like a complex process, but with the right tools, you can make it quick and hassle-free. In this guide, I’ll walk you through deploying a website for free using Cloudflare and GitHub.
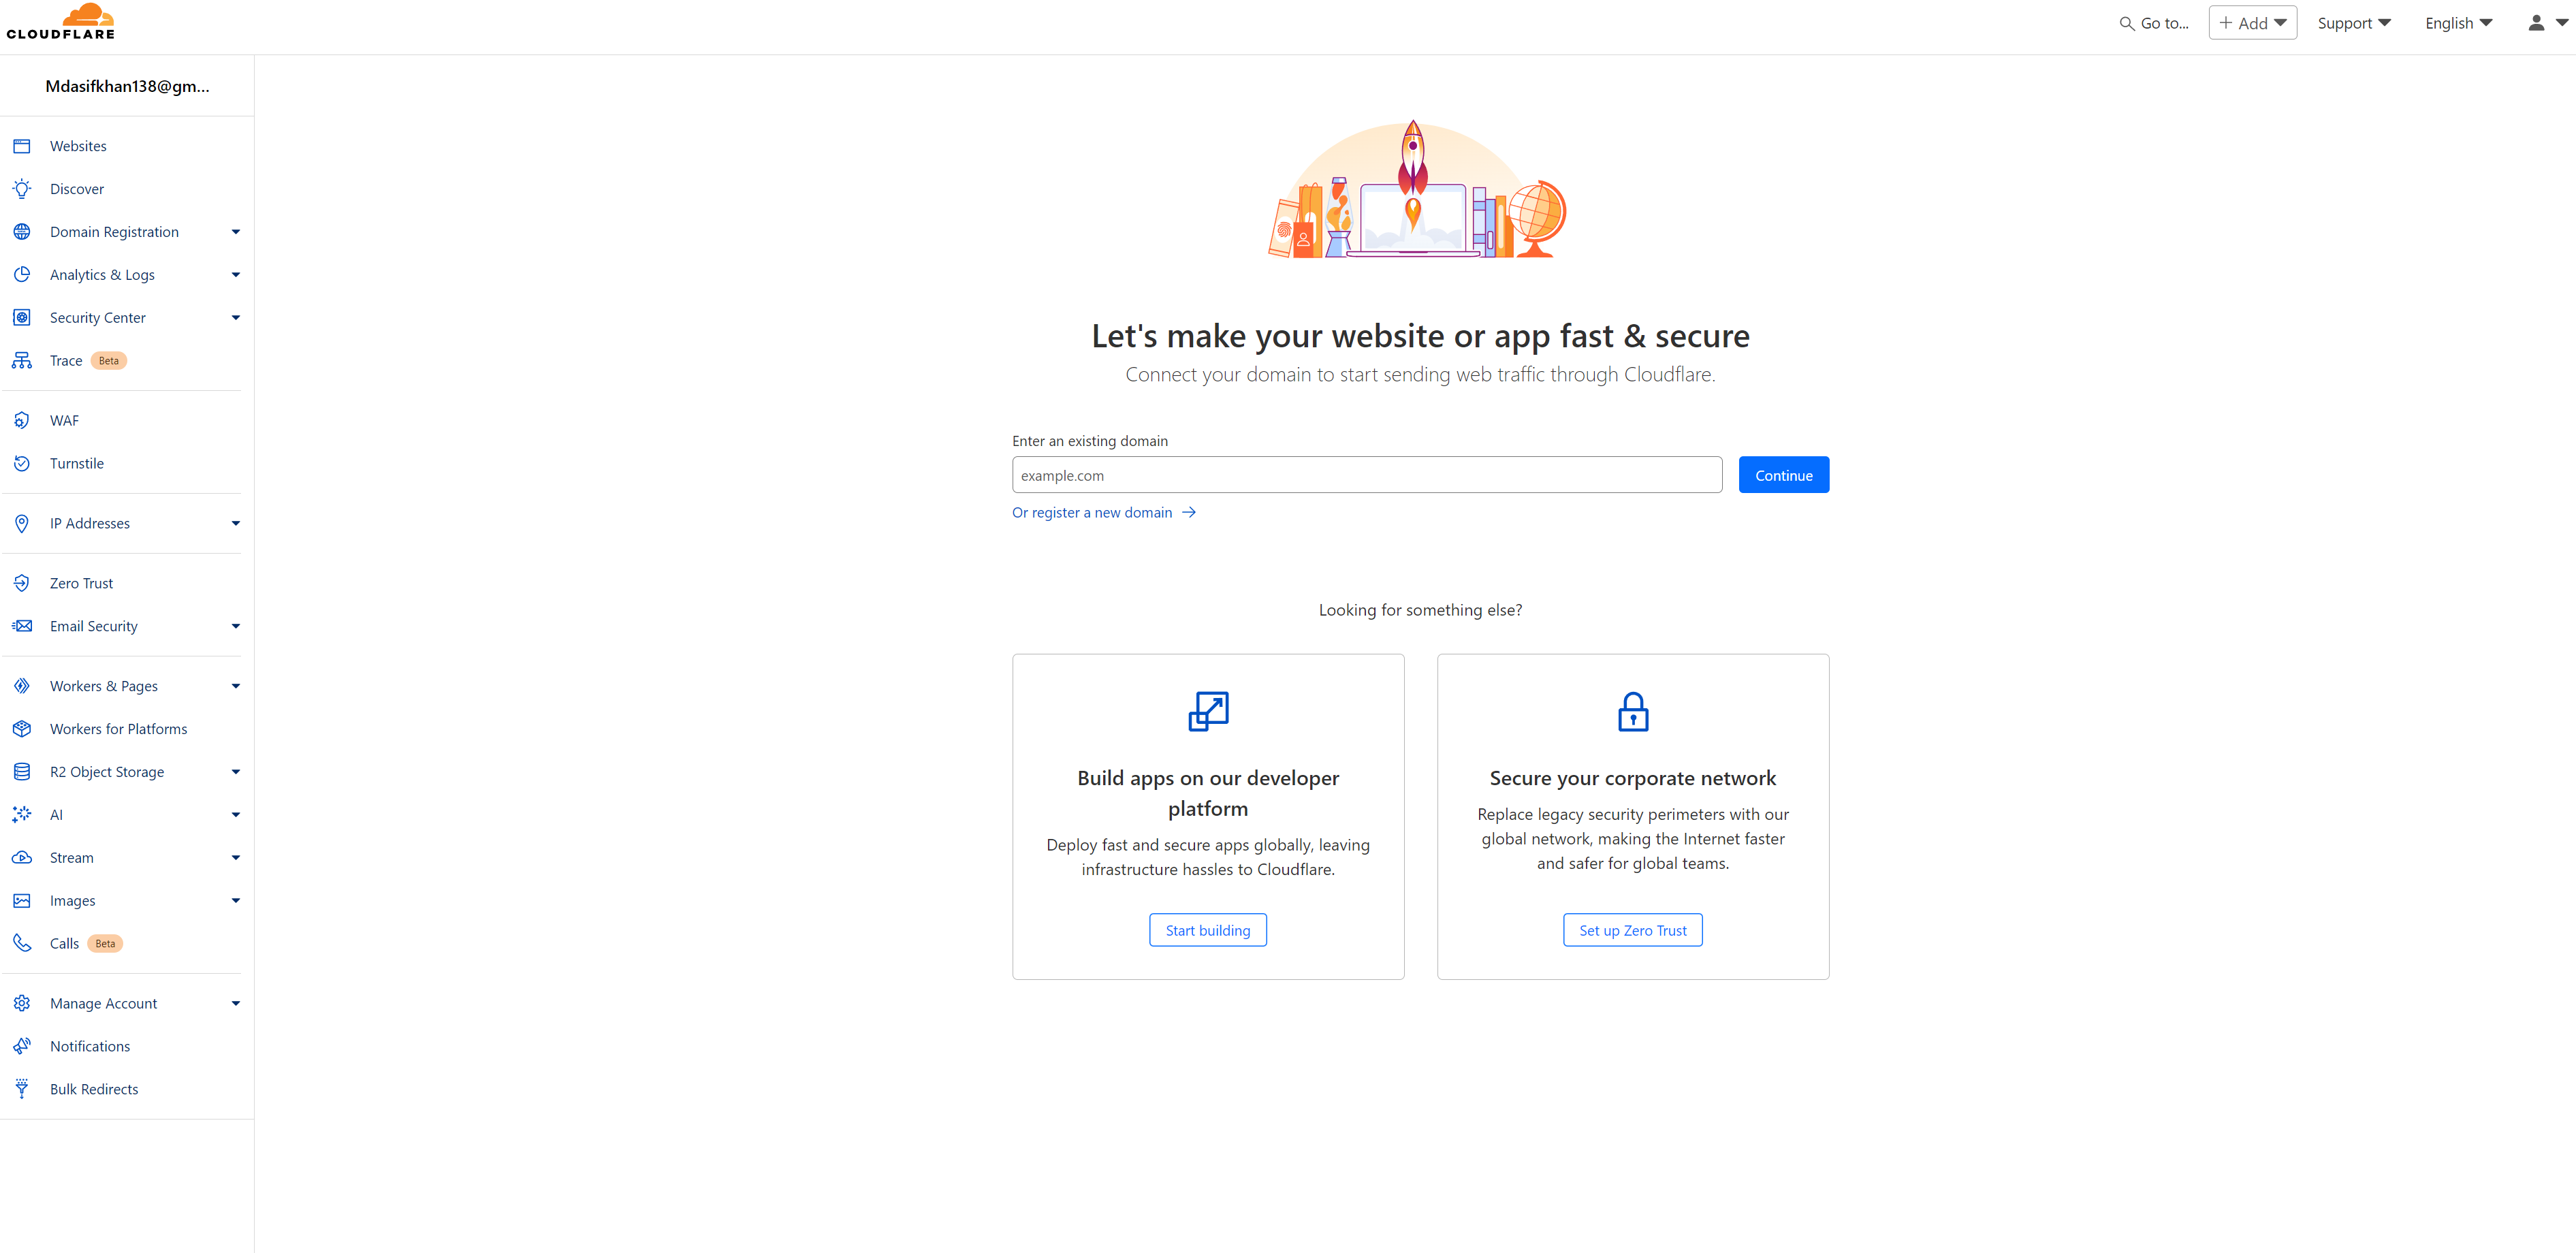
Create a Cloudflare Account
The first thing you need to do is sign up for a Cloudflare account. Head over to the Cloudflare Website and create your account. During the signup process, choose the Free package to get access to their basic services, which are more than enough for most simple websites.

Verify Your Cloudflare Account
After signing up, you’ll need to verify your account. This is a standard procedure to ensure your details are correct and to secure your account.
Navigating the Cloudflare Dashboard

Once you’ve successfully logged in, you’ll be directed to the Cloudflare dashboard. Here’s where the magic happens. From the dashboard, navigate to the Workers & Pages section.
Creating a New Project
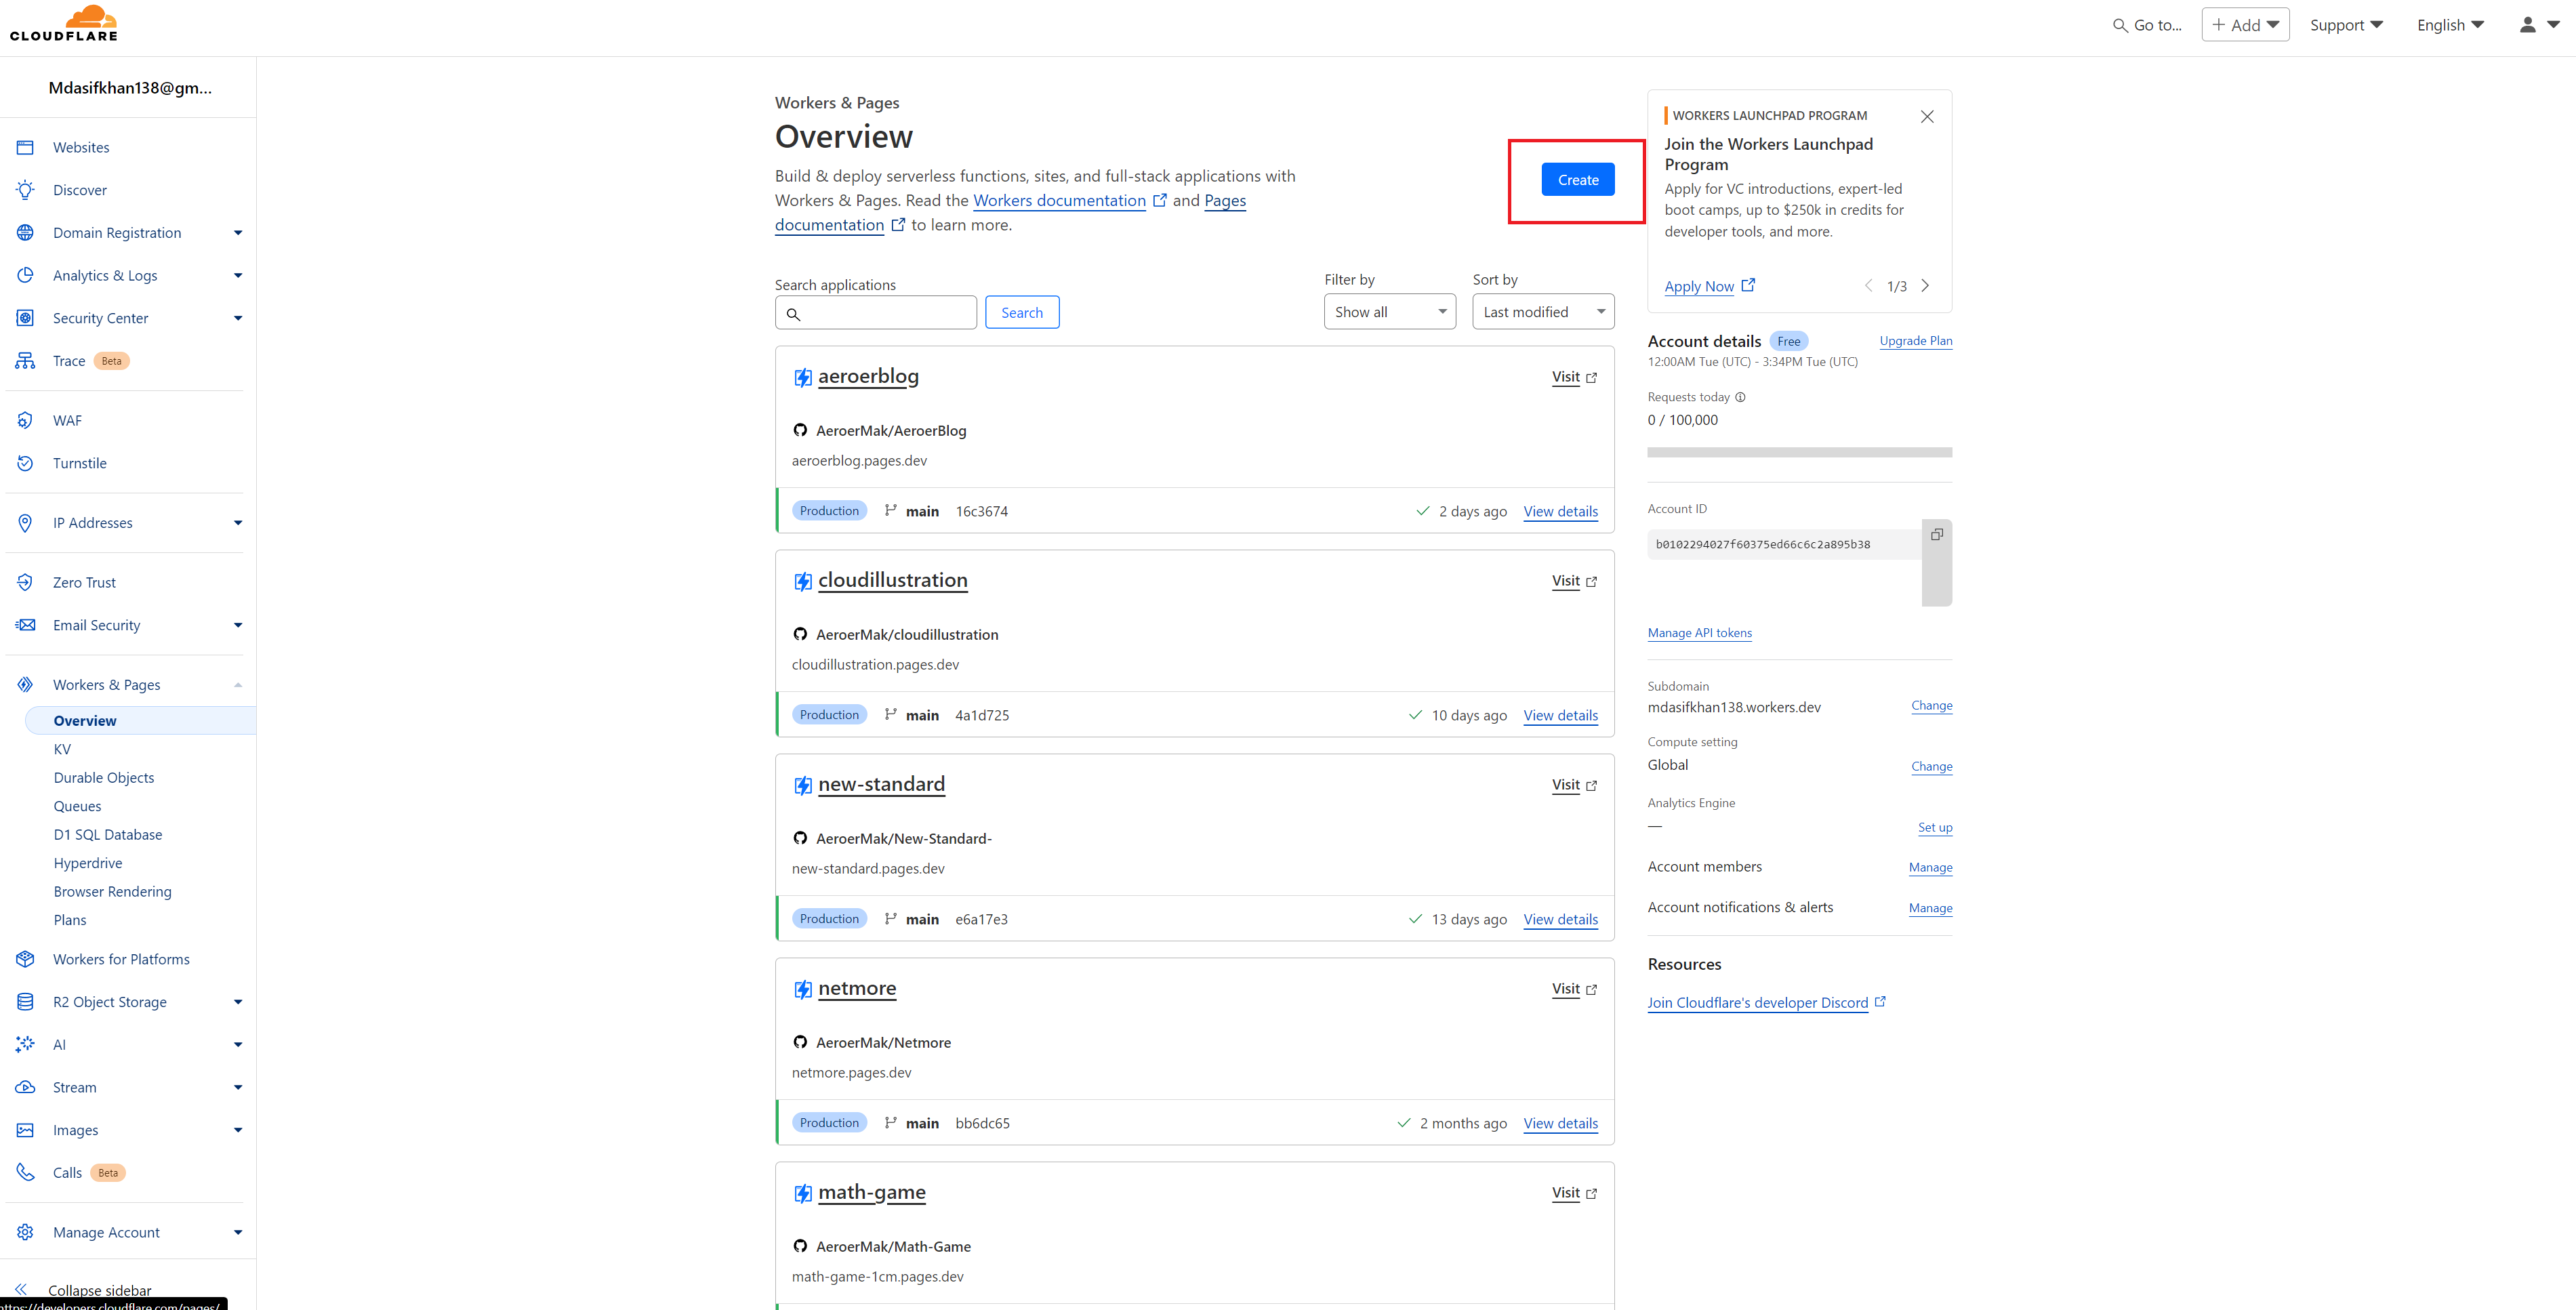
Click on the Create button in the Workers & Pages section. This will start the process of setting up a new project for deployment.
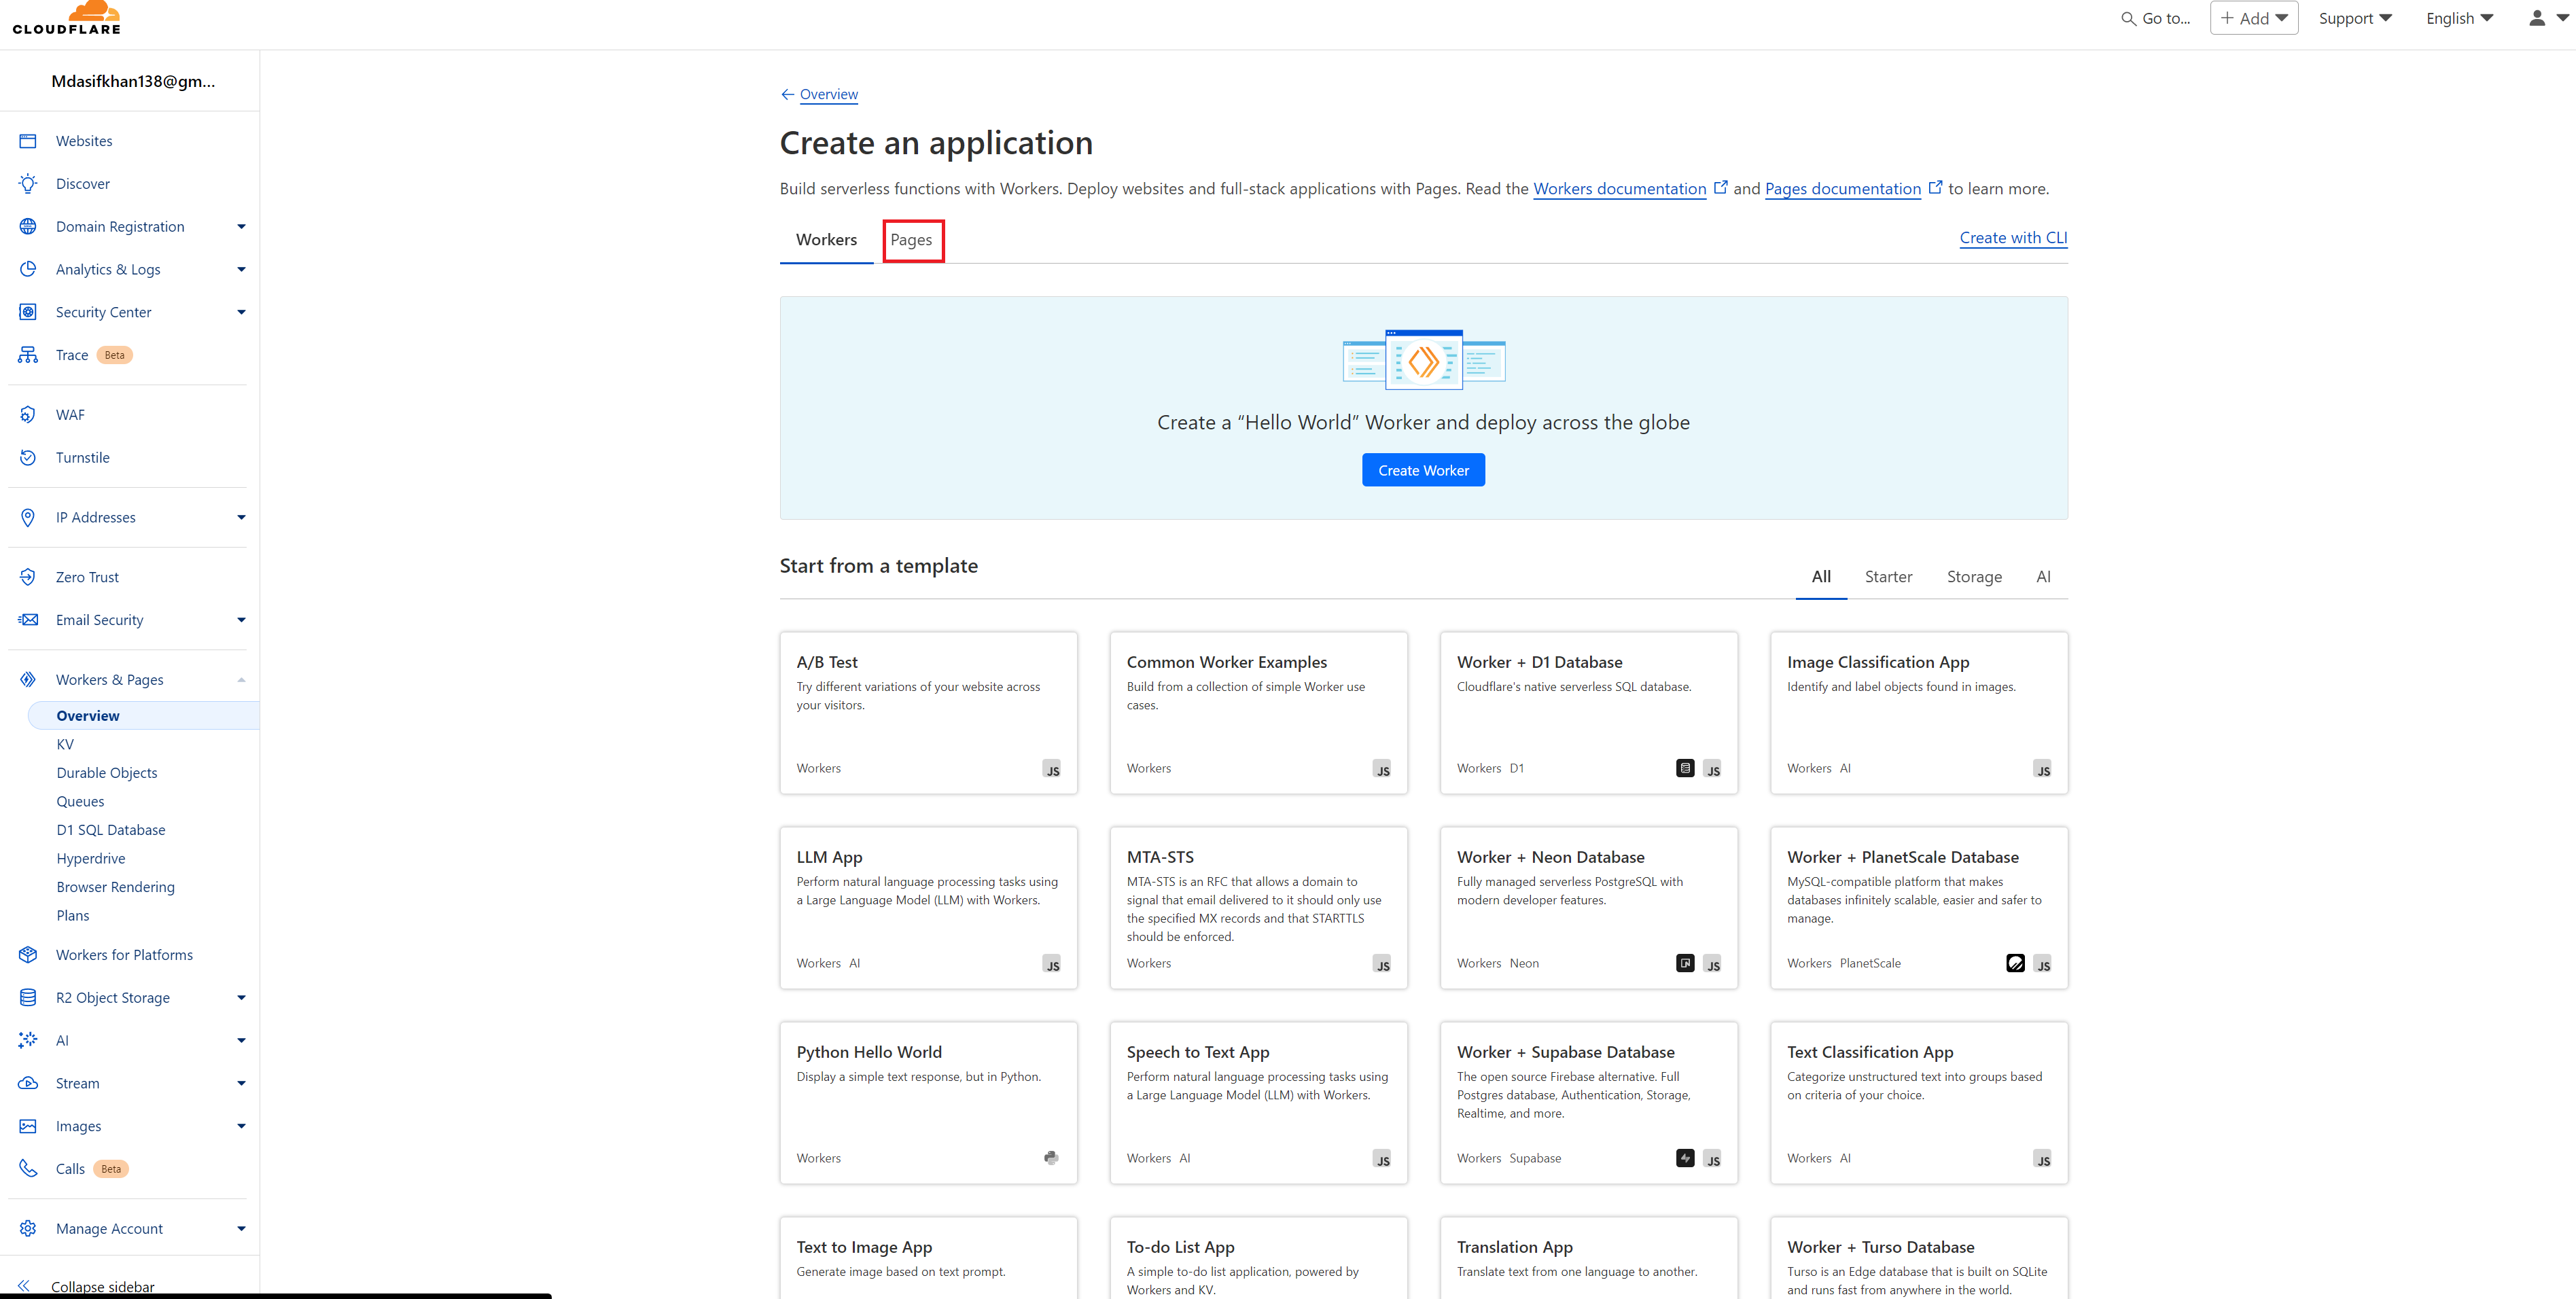
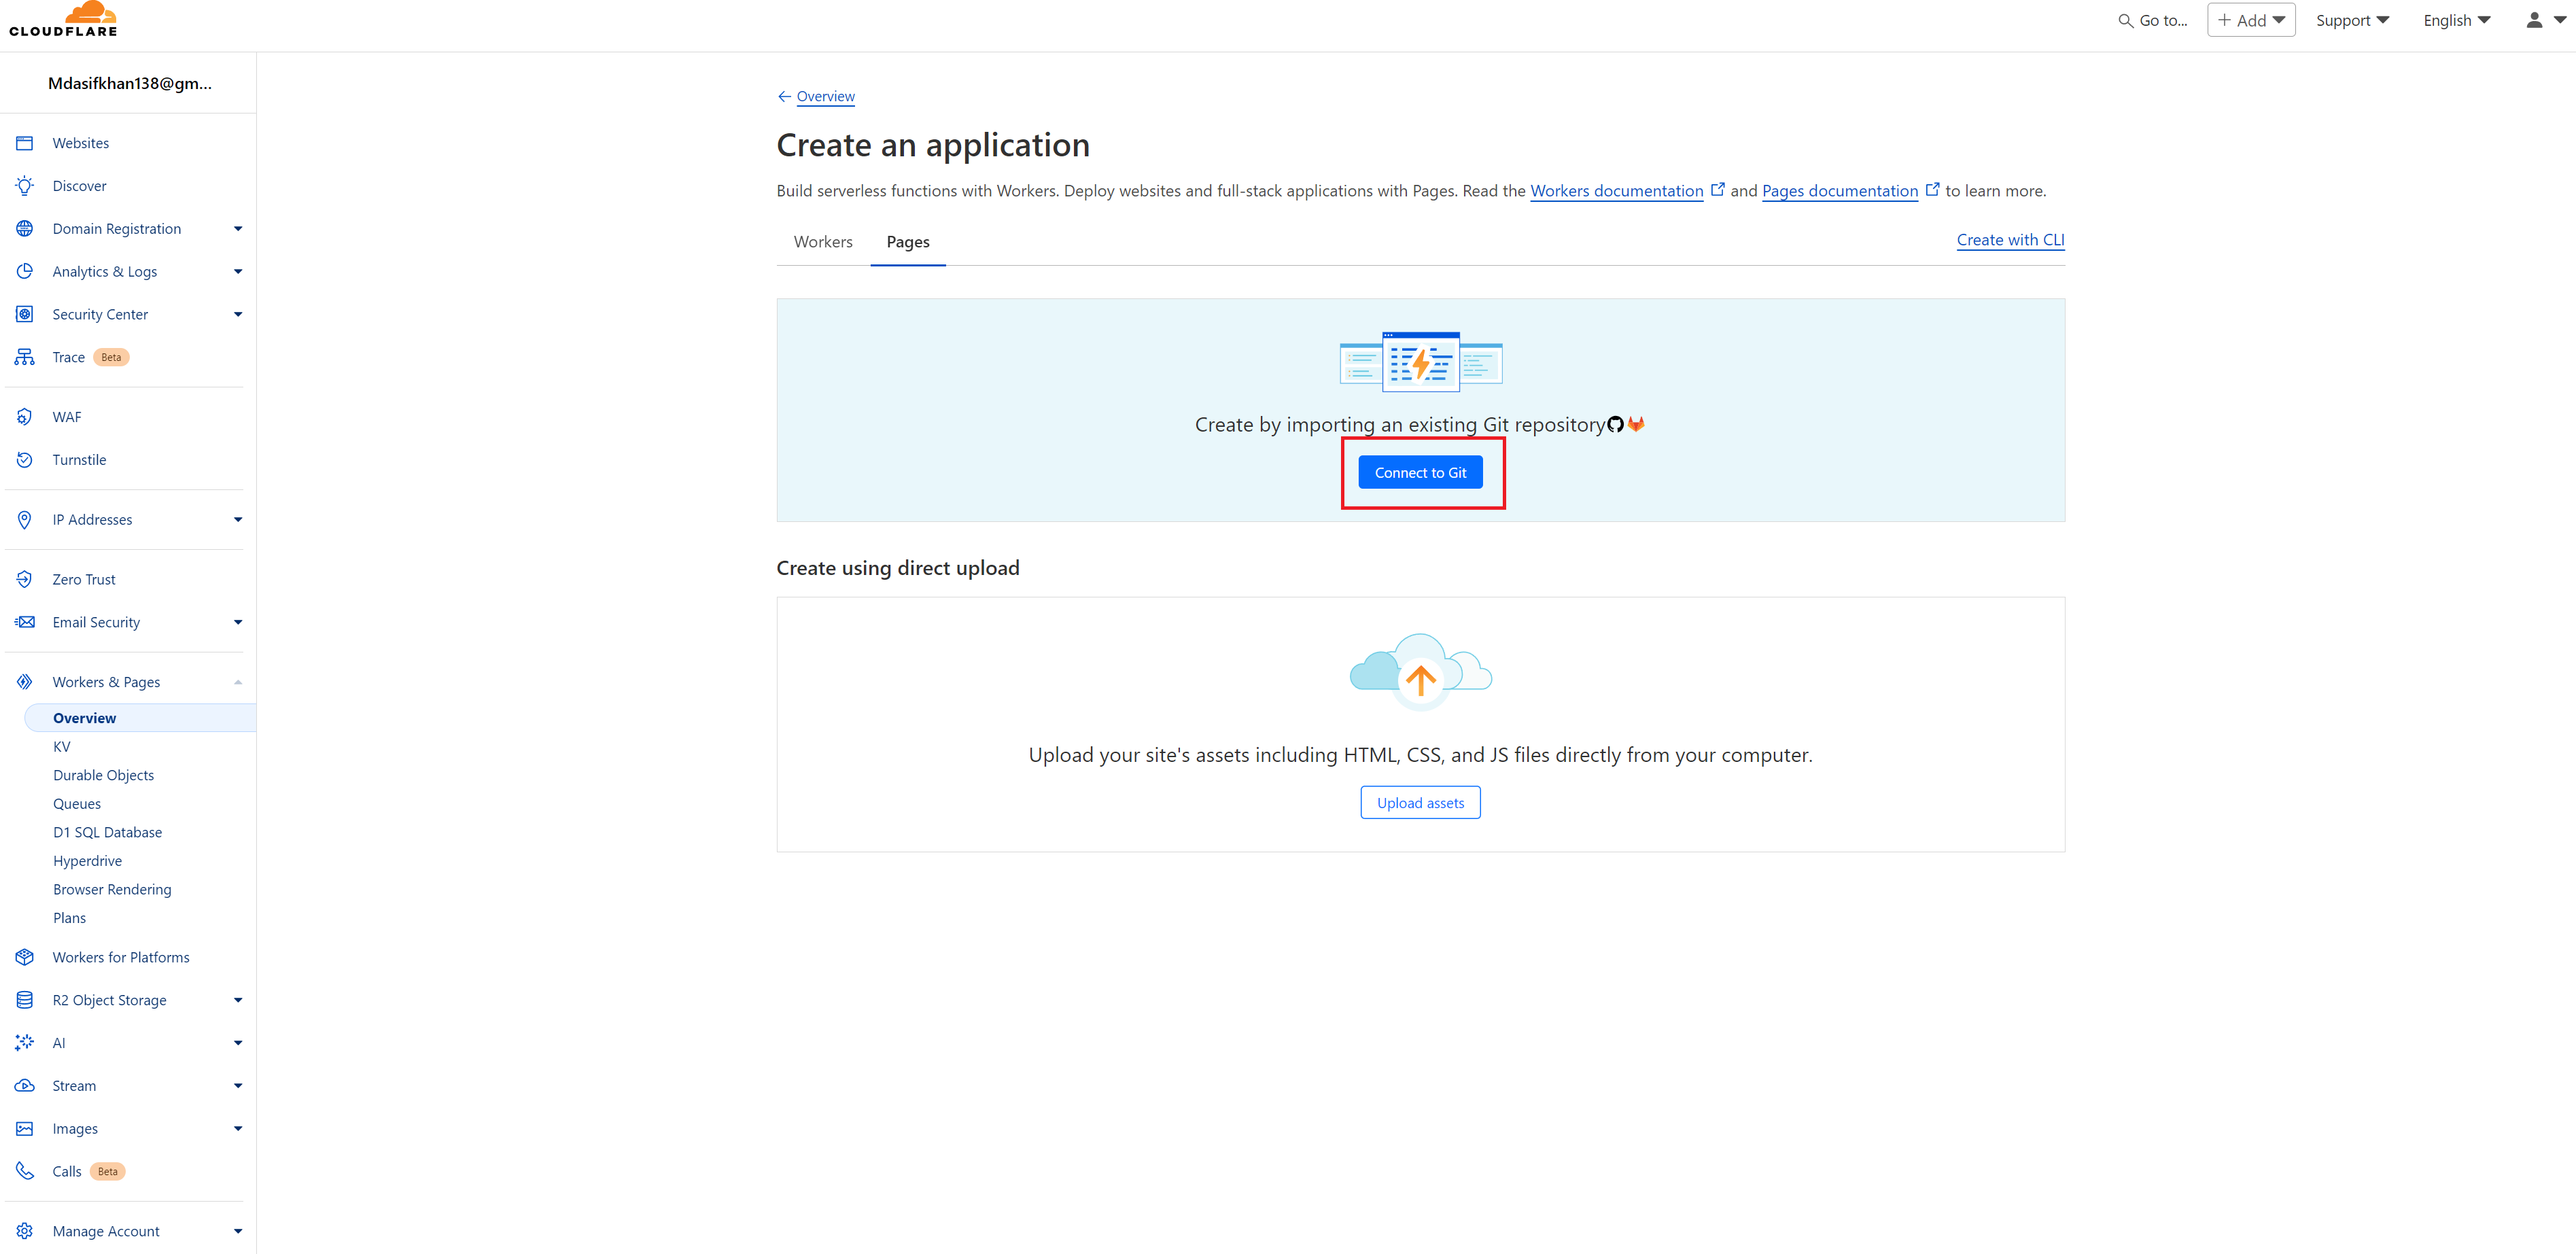
Connecting Your GitHub Account
In this next step, you’ll be asked to connect your GitHub account. If you’re reading this, I assume you already have a GitHub account. If not, you’ll need to create one and host your project on a GitHub repository.
Once you’ve connected your GitHub account to Cloudflare, you’ll be able to see a list of all your repositories right within Cloudflare’s dashboard. This makes it easy to pick the project you want to deploy.
Selecting Your Project for Deployment
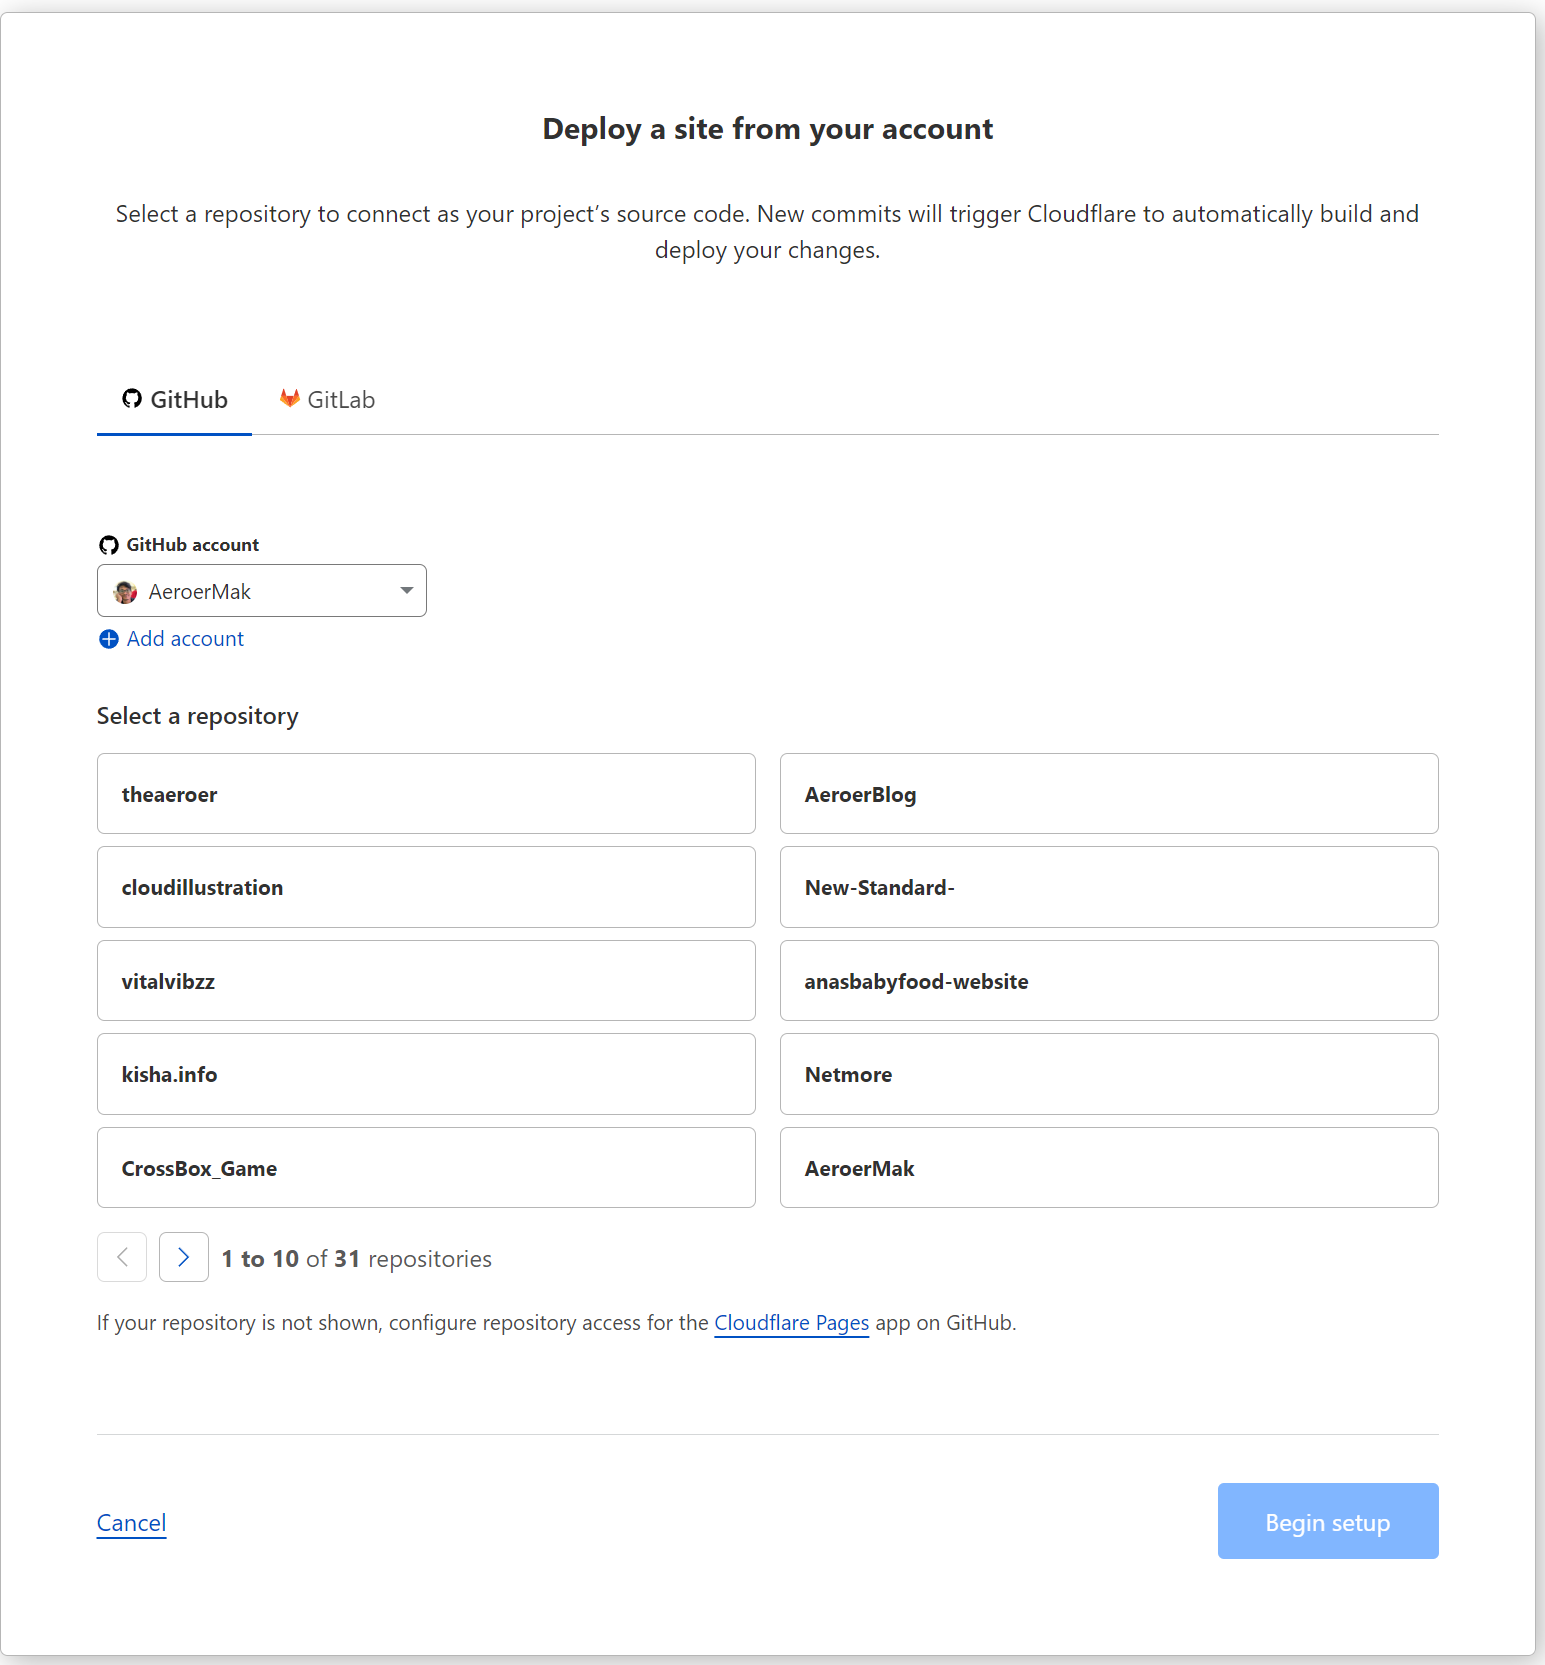
Now that your GitHub account is linked, simply select the repository for the project you wish to deploy. After choosing the correct repository, click the Deploy button.
Deployment Process
Once you hit deploy, Cloudflare will begin the process of building and deploying your website. This may take a few minutes, so sit tight.
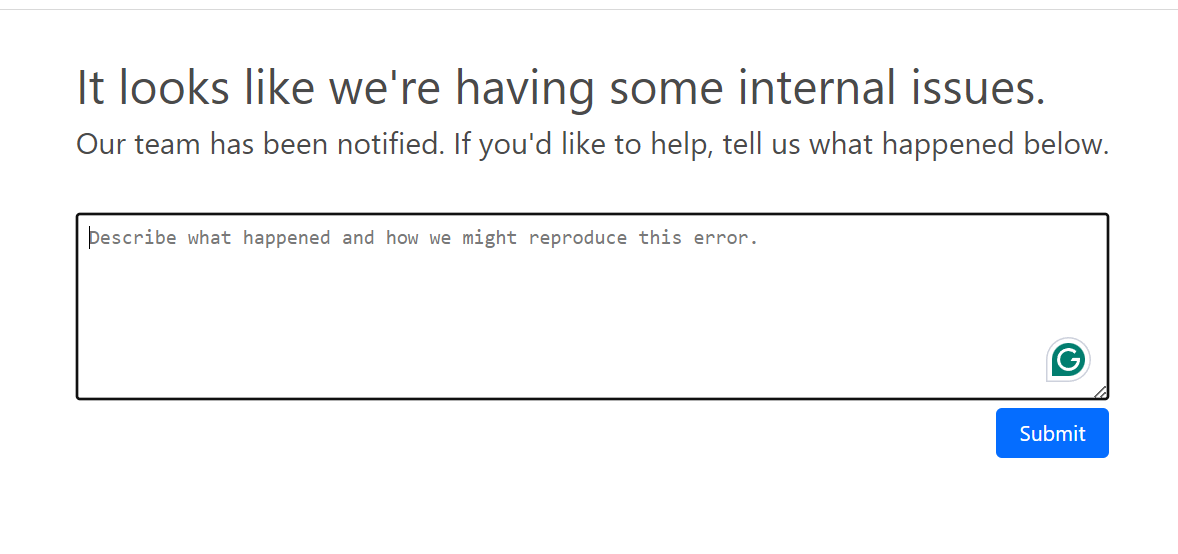
At the end of this process, you might encounter a message that says: “It looks like we’re having some internal issues.” Don’t panic! This is a known bug within Cloudflare, and your project has likely been deployed successfully despite the error message.
Checking Your Deployed Website
Wait about 5 to 10 minutes after seeing the error message. Then, navigate back to the Cloudflare dashboard and head to the Workers & Pages section again. You should now see a link to your deployed website.
And that’s it! Your website is now live


